And then there were blinky lights.
Update 2017-12-22:
And then there were blinky lights…
Today’s arctic air has caused some ABS warping failures in the workshop, so I’ve resorted to printing with a raft, which seems to being doing the trick.
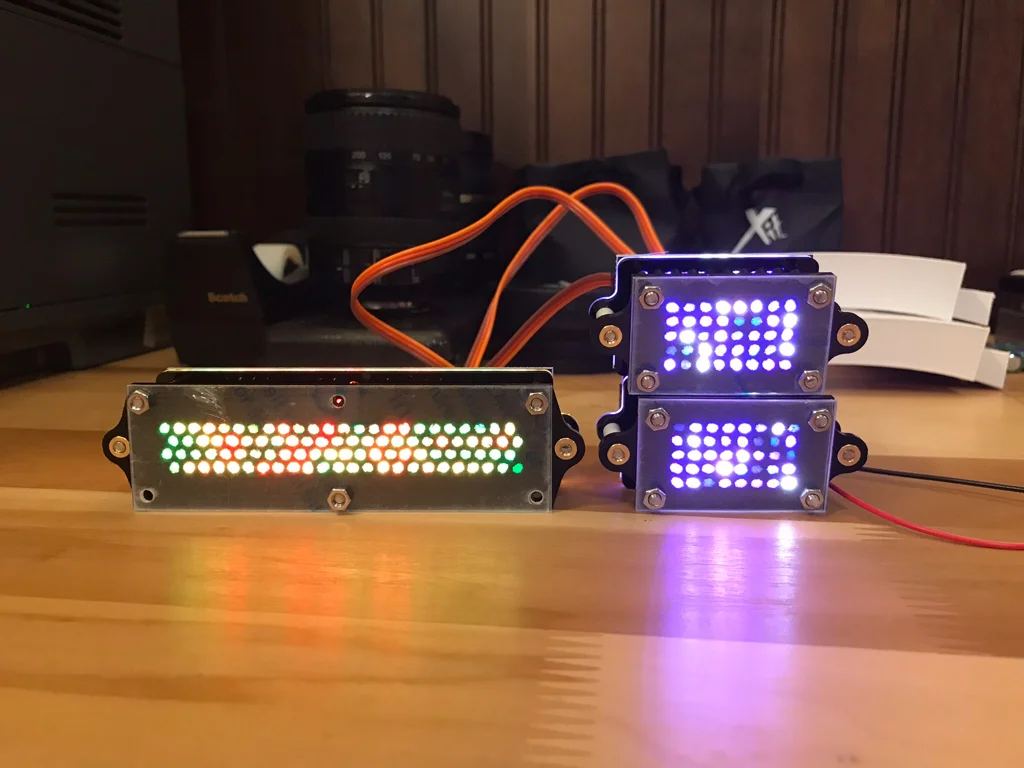
In the meantime, I received a couple of Paul Murphy’s (joymonkey) awesome R-Series Logic Engine Dome Lighting Kits a few days ago, so I took the opportunity to test/assemble one set. His instructions are pretty straight forward. I also followed along with cje1985’s build log, which has some great assembly pictures.
The setup.

Testing prior to assembly.


Next, removal of the bezel film/paper. I left the film on the front screens, as I don’t have the surrounds printed yet.

The small bits where they won’t wander around my desk. I was terrified I might sneeze and blow the nylon washers all over the room.

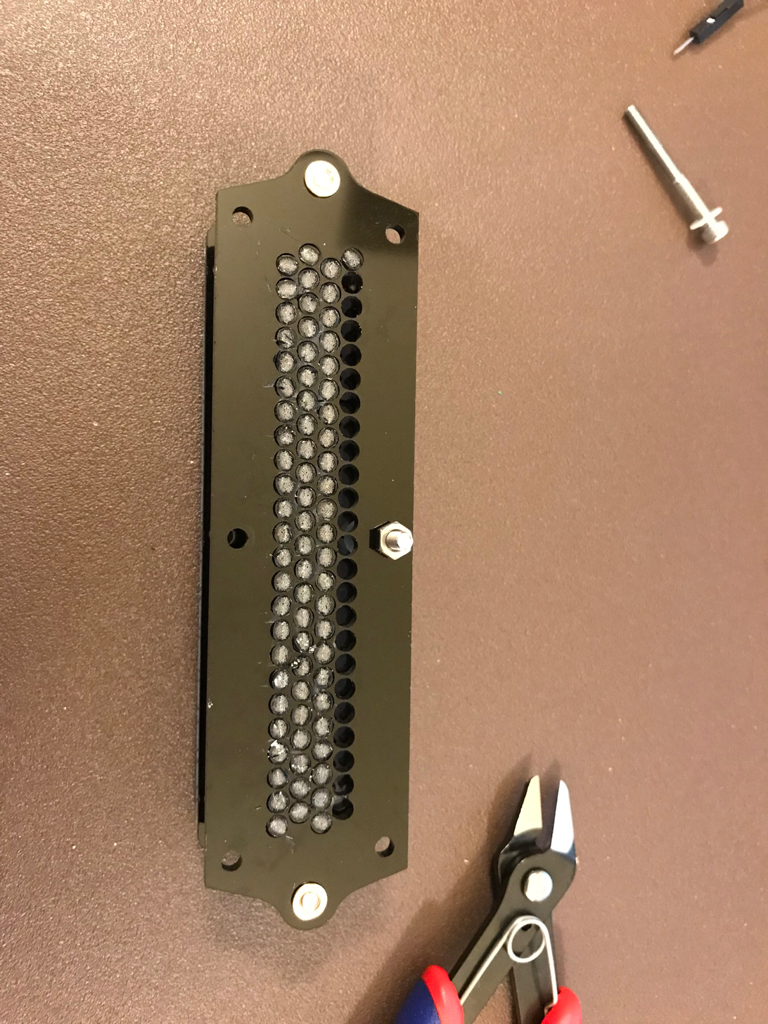
Assembly of the rear/large logic display. Only the two end screws are in their final place. The two in the middle were installed temporarily to prevent bending/warping while I man handled the fiber optic cable. Turns out, it was much easier to install the fiber optic cable than I anticipated. I did have to finally remove those two temporary middle screws when it was time to install the fiber near them, as the washers were in the way.


Then it was time to install the fiber. I began in the middle and worked my way to the outside, in case I had to help the fiber find it’s spot I’d be able to get my finger or tweezers in there. In the end I didn’t have to, twisting the fiber or rotating the bezel helped place each of the cables.


Next up was the front/small logics. These moved right along.


Next up, attaching the PCBs to the assembled bezels. The rubber washers are only mentioned in the instructions for the large logic. An edge was trimmed from each one, so as not to occlude the nearby LED.


And then blinkyness happened.